I don't fit many of the CS nerd stereotypes -- I have two X chromosomes, don't enjoy Star Trek or Star Wars, and haven't played Dungeons & Dragons (someone tried to remedy this once during grad school, but I found it so boring I fell asleep). However, in addition to occassionally wearing mathematical clothing, another way I bolster my nerd cred is by my enthusiasm for LEGO, and now that I have pre-school age kids who are old enough not to swallow the bricks, we enjoy doing LEGO stuff together -- it's a good cross-gender, cross-age activity that we can all enjoy. So when we moved this year to a house that had a separate bathroom for the kids, I decided to give it a cheap makeover and create a LEGO Bathroom. Nerds everywhere, rejoice!
I'd estimate the project took about 30 person-hours and $150, using a mix of DIY and official elements. About half of the person hours were for Step 0, which was painting the bathroom a bright, gender-neutral yellow that was similar to the primary yellow used in LEGO bricks (I went with "squash blossom" from Home Depot's BEHR brand). The next-most laborious part was the DIY vanity knobs, which required a bit of help from my husband since I'm better with paint than with power tools. I've listed my sources and methods below, in case you'd like to try to replicate any of them.
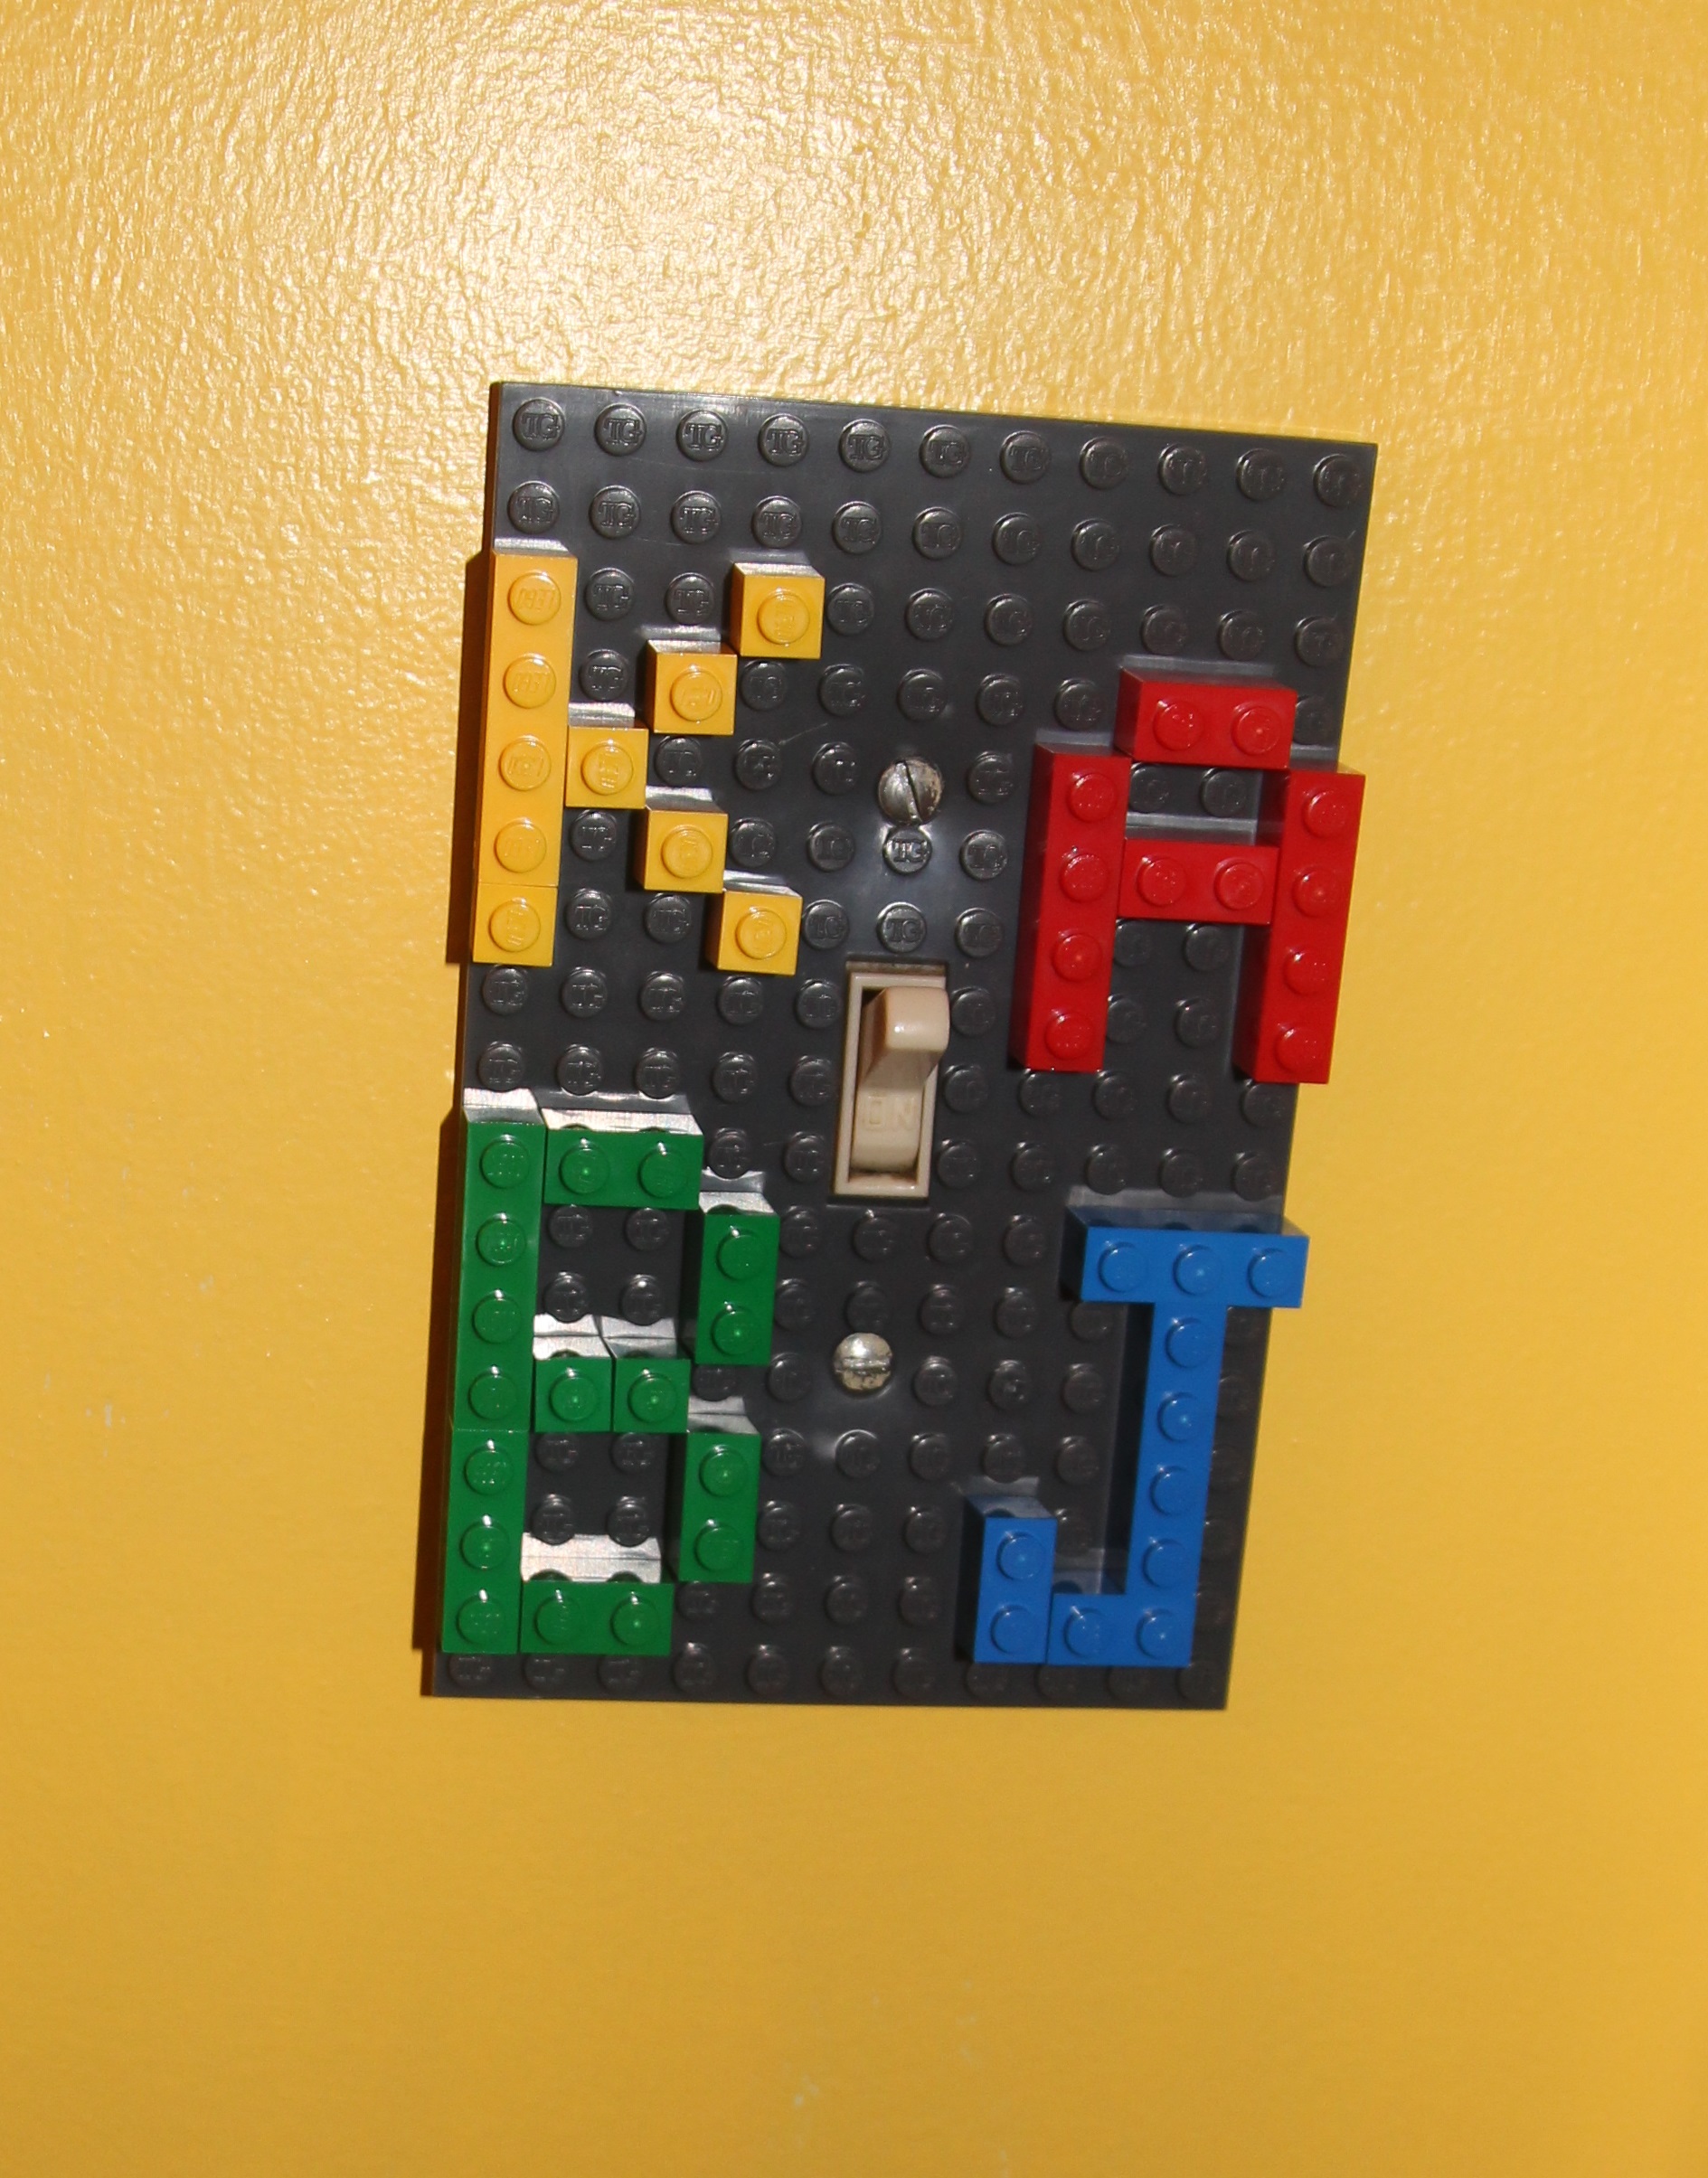
I bought this off-brand buildable switchplate cover from ThinkGeek (about $5 for a pack of two). I used LEGOs from our collection to write my kids' initials on it. I tried to stick mostly to primary-colored LEGOs throughout the bathroom's decor, to keep it simple and gender-neutral.
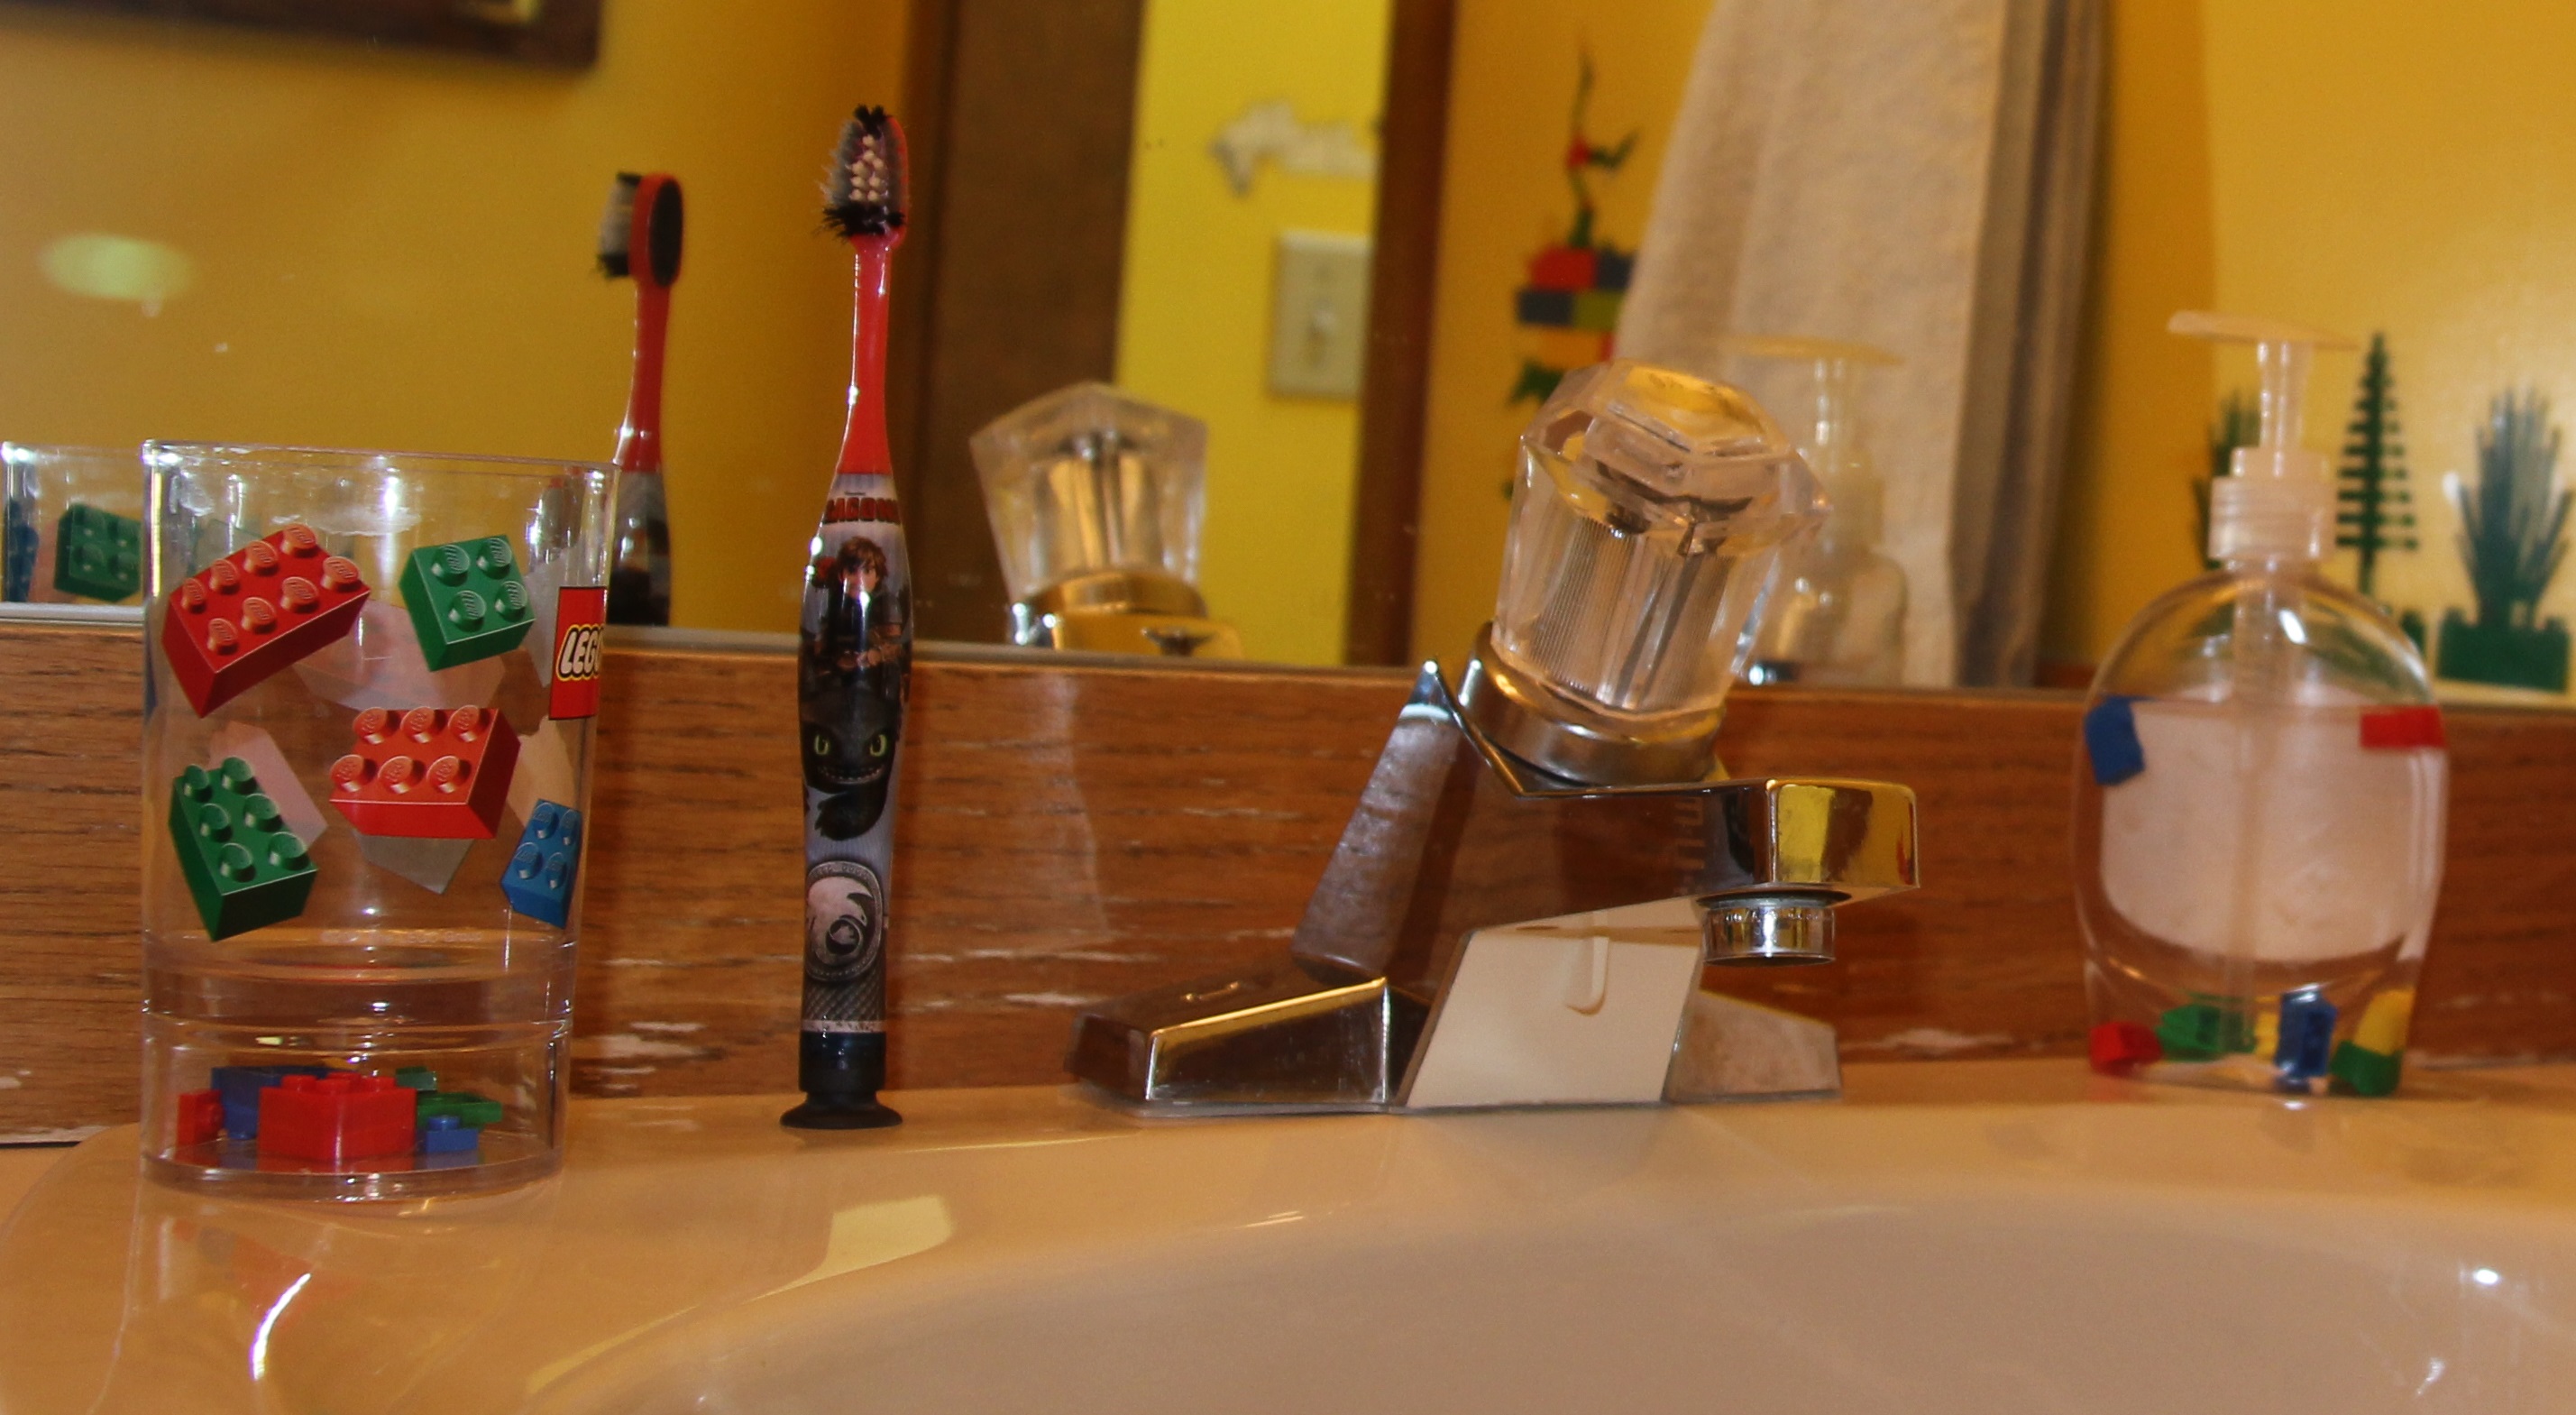
I bought generic clear pump soap at the local grocery store, and peeled the label off, and then took a few small LEGO bricks (1 stud x 2 studs) in primary colors and floated them inside the soap.

I bought a pair of official LEGO drinking cups at my local LEGO store, $8 each.
My brother contributed to the project by sending us this official LEGO brick-shaped clock ($24 on Amazon), and my mom did her part by crocheting a tissue-box cover in the shape of a LEGO brick.

I had bought two packs of off-brand brick pencils from Amazon for party favors at my son's LEGO-themed birthday party (I'll have to make another web page about that someday), and each pack came with a piece of carboard printed in a brick pattern, so I decided to use Mod Podge to secure the printed cardboard to the bathroom trashcan.

My kids don't really play with their DUPLO blocks anymore, now that they are big enough for "real" LEGOs, so I repurposed some of them for bathroom decor. I bought these cheap, square shower curtain hooks for $8, and also a plain white shower curtain (I thought that would contrast nicely with the hooks and avoid detracting attention from them). I used a hot glue gun to attach square DUPLO bricks to each shower curtain hook, which has proven suprisingly durable.

I bought this brick-patterned bathmat from KESS for $35 during their Black Friday sale (this was the biggest "splurge" of all the purchased items, and the normal, non-sale price of this bathmat is outrageously high). I should note here that I found the company rather sketchy -- the bathmat took more than a month to arrive, and I had to email the company twice and call them on the phone on three separate occassions before they finally got around to shipping my order. So I'm not sure that I would buy something from them again, but the mat does look cute in the bathroom.

Our bathroom vanity didn't have any knobs, and I thought chunky DUPLO blocks would do the job well. It turns out someone else on the internet already had the same idea and had posted some detailed DIY directions on how to fit wooden dowels into the back of the DUPLOs, which I found pretty useful. The sawing and drilling of dowels and knob installation was my husband's contribution to this project. I was missing a couple of the colors of DUPLO bricks I wanted from our own collection, and a friendly stranger from Microsoft's parenting DL donated a couple; the local LEGO store also kindly gave my husband a couple from their display area for free, which I ran through the dishwasher to sanitize before using.

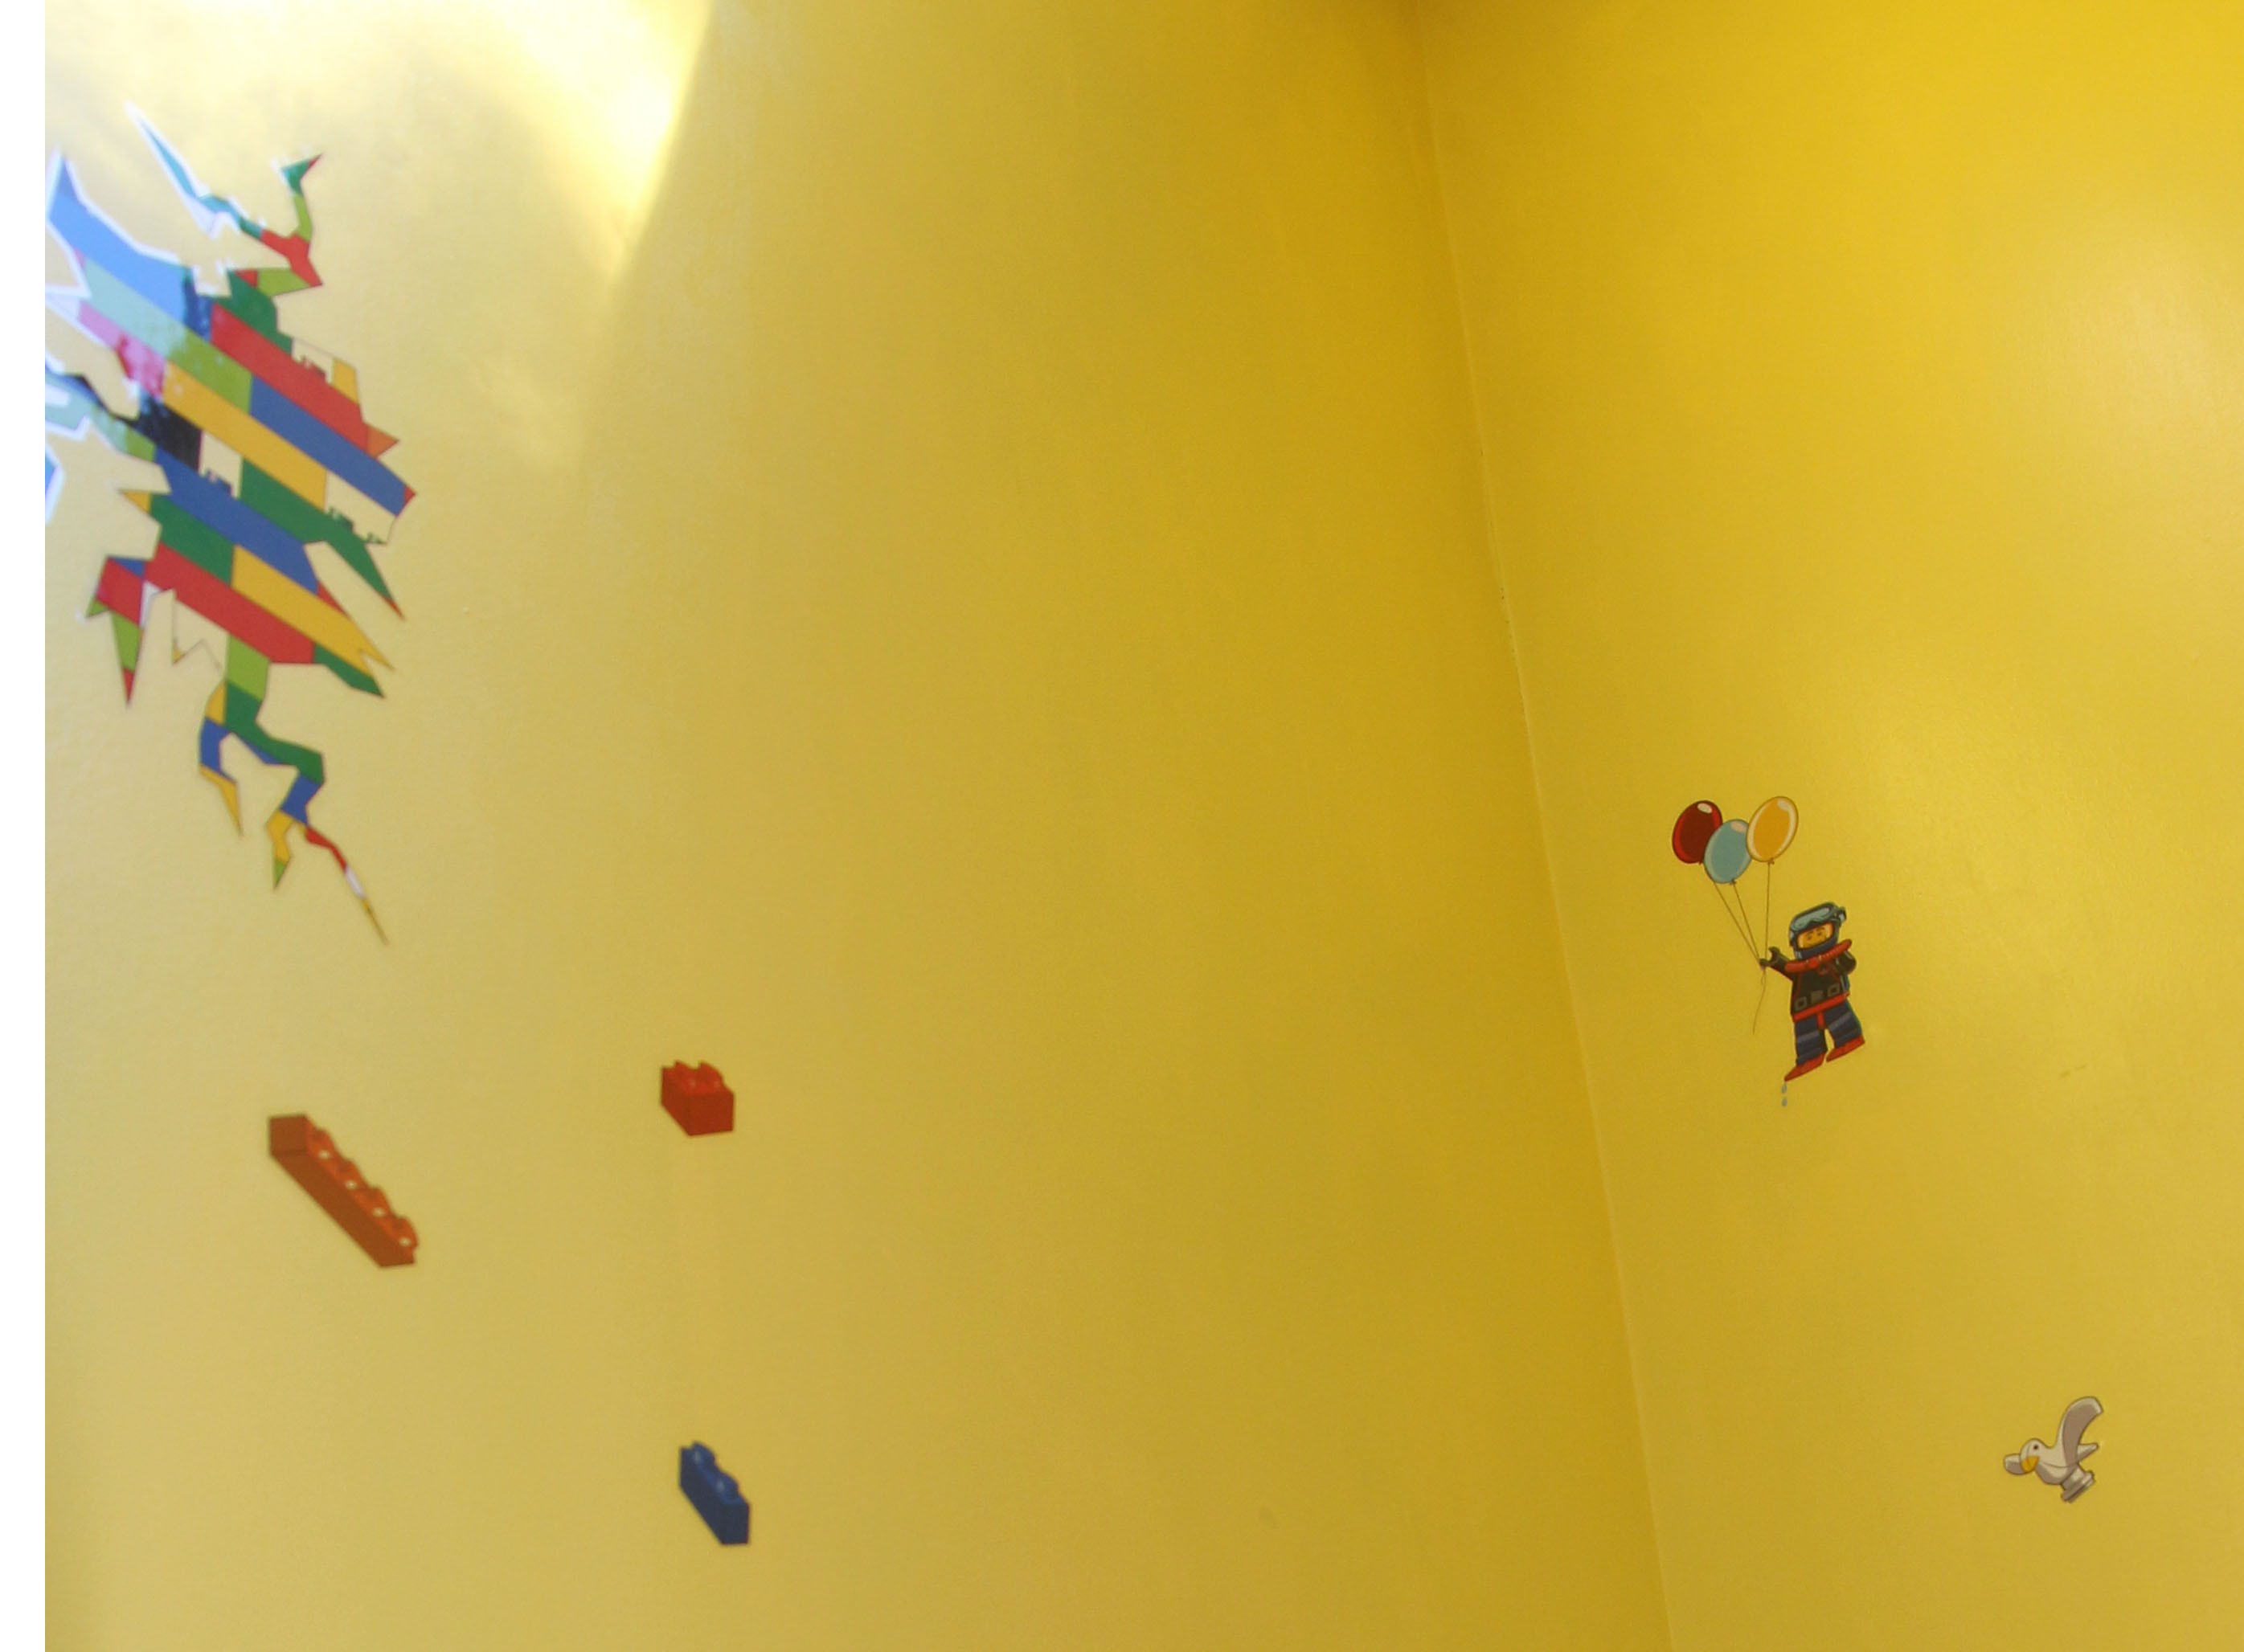
I ordered these official LEGO wall decals, and after my fresh paint had cured completely for three weeks, I put them on. I bought two packs ($15 each) and used about half of each pack in order to stick with the more classic images in each set and with the colors that I liked. I do wish that LEGO included more female minifigure images in each set of decals -- having two packs of decals allowed me to pick and choose the stickers more carefully to help keep a gender-neutral balance to the room.


My kids (a girl in pre-K and a boy in kindergarten) love the results of the LEGO makeover -- I figure this theme will be age-appropriate throughout elementary school (and possibly into middle school, if my kids are as nerdy as I am!). Here are a couple of overview shots of the final layout:

