How to Build a Guitar out of Chocolate
-- Compiled from a first-time
experience building a guitar out of chocolate.
|
For this design, we create each piece separately and attach them together using
chocolate. The pieces are:
- curved sides of the guitar body
- body bottom
- body top
- neck
- headstock, bridge, and other
details
Here the guitar is modelled after an acoustic
with a body of about 40x50 inches.
|
Materials |
- chocolate (15-20 pounds)*
- styrofoam
- aluminium foil
|
|
Tools |
- stirring spoon
- two pots (one larger than
the other)
- knife for cutting
styrofoam
|
* As a rule of thumb, 0.5 pounds of chocolate
makes a slab of about 1x10x20cm |
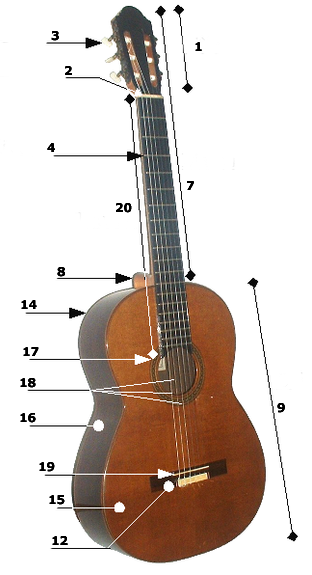 |
1. headstock
7. neck
9. body
12. bridge
16. curved sides[Source: Wikipedia]
|
|
|
| |
|
|
| Create the Mold & Prepare Materials |
|
|
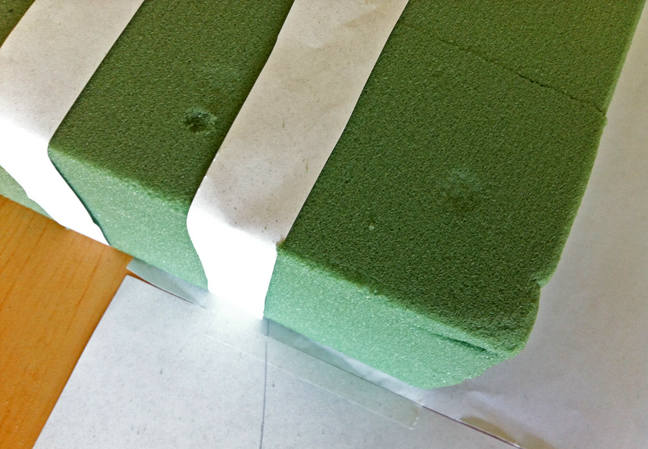
| Silicone chocolate molds
and other molds do exist, but to keep things cheap and easy, here we
create a mold out of styrofoam. |
 |
|
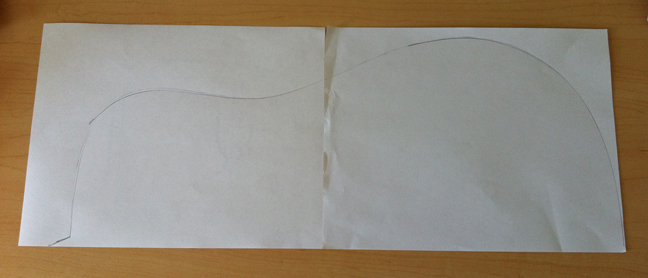
| 1. Trace out the design.
Here we create half of the guitar body so that it is easier to make the two
sides of the guitar symmetric. |
 |
|
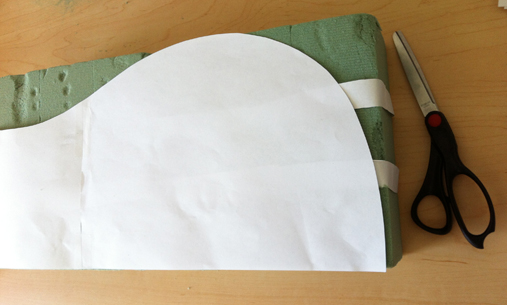
| 2. Cut the
styrofoam and wrap in aluminium foil. |
 |
|
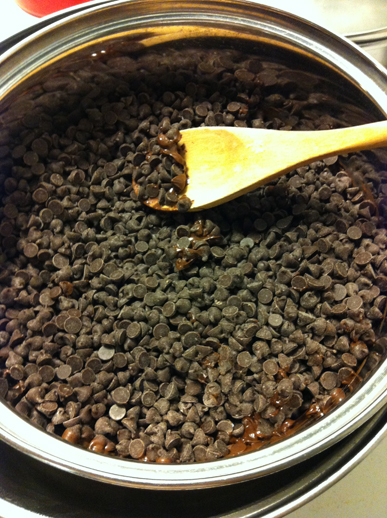
| 3. Buy the chocolate.
Break up bars into smaller pieces so that they melt more easily. Chips are
not usually ideal as they may contain other ingredients that don't allow them to
temper properly. |
 |
|
| |
|
|
| Temper the Chocolate |
|
|
Tempering is the process of heating and cooling
chocolate for reshaping and addition of other flavors. Tempered chocolate has a
crisp snap when broken and a shiny texture. Any chocolate that has cocoa butter in it can be
tempered. This includes most chocolate bars that maintain their shape (as opposed to eg. fudge). |
|
1. Create a
double boiler.
Place a bit of water inside the large pot and rest a smaller pot
onto the rims of the larger one so that the small pot is not touching the water.
The
steam is used to melt the chocolate, as chocolate can easily burn if heated over an open
flame.
|
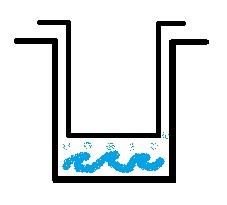
Cartoon of a double boiler created with two pots. |
|
2. Bring the water to a boil,
then let simmer while adding chocolate into the smaller pot.
Note: Don't let any water fall into the chocolate, as it will ruin the
tempering process. This is called seizing. |
 |
|
|
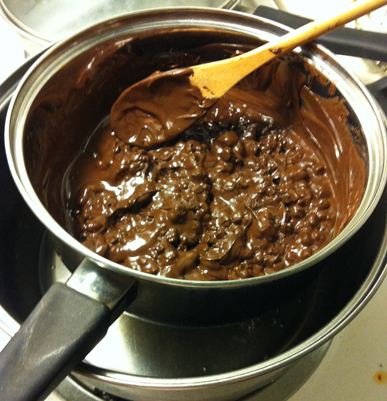
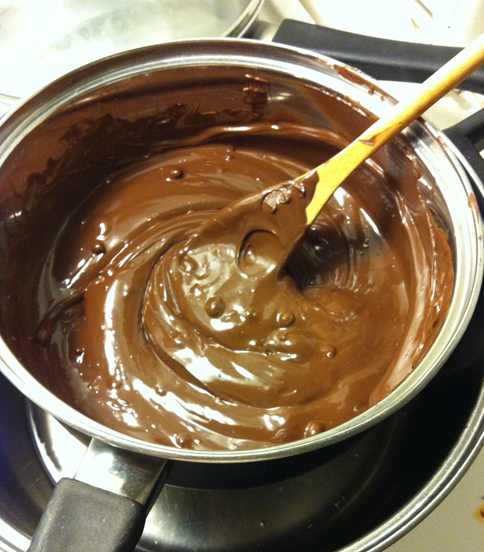
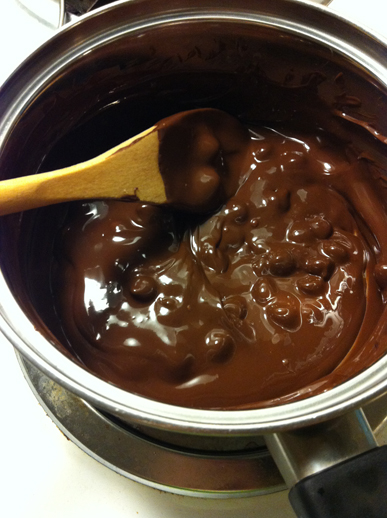
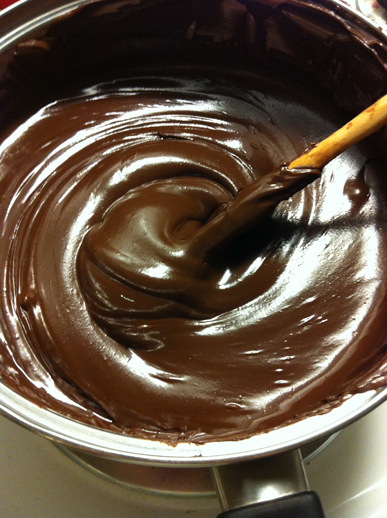
3. Stir continuously. |
 |
|
4. When there are a
few chunks left and the chocolate is just about to fully melt (about 10-15
minutes later), remove the pot from the boiler.
For precision, one can check with a dessert thermometer that the temperature is 41 degrees Celsius. |
 |
|
5. After removing from
heat, add roughly 1/8 - 1/4 more chocolate bits,
stirring continuously.
This is called the seed method. The already tempered
chocolate allows the heated mixture to take on the correct crystal structure as it
cools. If left to cool on its own, the crystals formed will be loose and the
resulting chocolate will not have the crisp snap of tempered chocolate. |
 |
|
| 6. The seed chocolate
should completely melt into the mixture. |
 |
|
7. Continue stirring
as the chocolate cools to keep it at uniform temperature. Depending on the amount used, the chocolate will
enter the tempering range after about 20 minutes. The following techniques can be used to check if it is ready
to be used (reshaped, molded, etc):
A. Take a bit of chocolate and place it on the tip of a knife. If after 1
minute, the chocolate is still soft and liquidy, continue stirring. If you can
run another knife through the chocolate and it comes out clean, then the
chocolate is
tempered and ready to be used.
B. Check the temperature using a dessert thermometer. Depending on the chocolate used,
the tempering range is 27-32 degrees Celsius.
Reference for tempering ranges:
[1] |
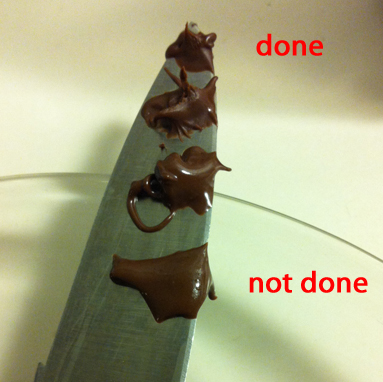
The bottom blob is still liquidy and does
not maintain its shape. The top blob has started to crystallize and will
maintain its shape if disturbed by another knife. |
|
| 8. Chocolate that is not
properly tempered may sometimes bloom (form grey or
brown swirls). This is a result of fat or sugar crystals separating from the
chocolate and rising to the surface because of improper tempering technique. It
is safe to eat, though may ruin the solid chocolate color if that is desired. |
|
|
| |
|
|
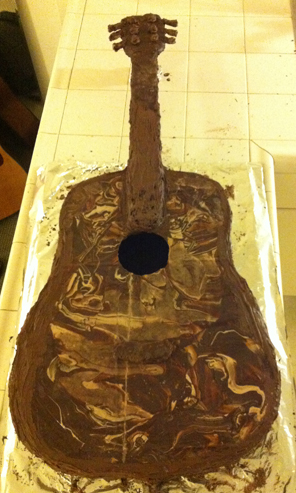
| Create the Body Sides |
|
|
Create each piece separately, let cool overnight, and
then attach them together with tempered chocolate.
Whenever chocolate is mentioned below, it is
assumed that the chocolate has just been tempered using the process above and is ready to use.
|
|
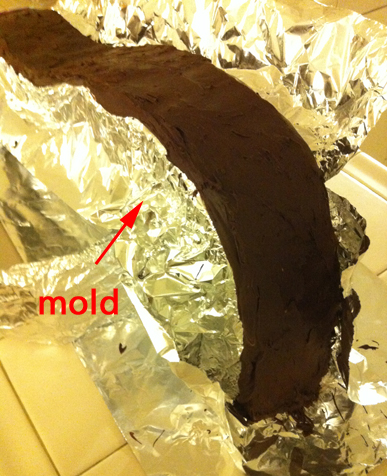
1. To create the
sides stand the mold up and pour chocolate on top. Add more to
the upright sides as the chocolate starts to cool so that it doesn't just slide down.
Once cooled (overnight), straighten the edges using a knife to strip away any chocolate that falls over the sides
of the mold.
Note: Keep these pieces thick (at least 1cm) as the curved shaped makes them
more readily breakable. |
 |
|
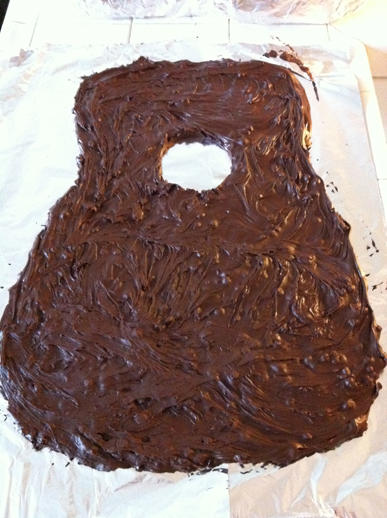
2. To create the
body
top, wrap the finished sides in aluminium foil and lay them
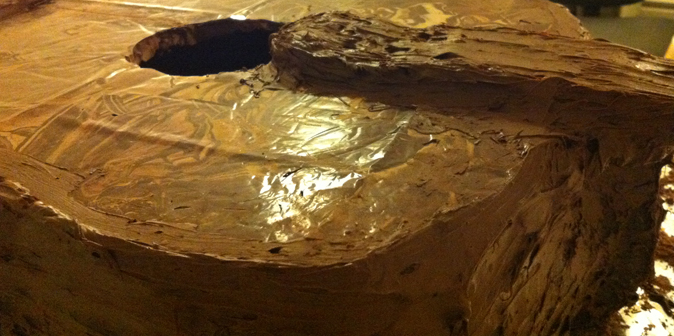
together in guitar-shape. Add a cup or small pot in the center for the sound hole, then pour
chocolate into the resulting shape.
Once the chocolate has started to maintain its shape
(half an hour or less), remove the sides and the
cup and let it fully cool.
Note: Smoothing the chocolate is not necessary as this side will be facing the
inside of the guitar. |
 |
|
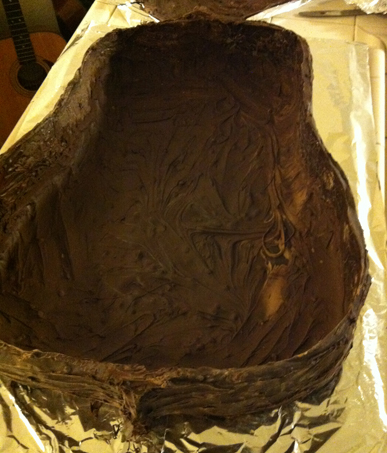
4. To create the
body bottom and attach it to the sides, again place the finished sides in guitar shape.
Pour the chocolate directly inside and make sure it fills any gaps that were not
smoothed away on the sides in Step 1.
|
 |
|
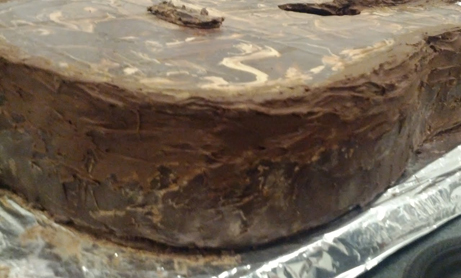
4. Place the body top
onto the finished sides to attach the top to the rest
of the guitar using tempered chocolate around the sides and between
any two pieces, just like glue.
Once cooled, smooth away any rough edges as
needed. |
 |
|
| |
|
|
| Finishing Touches |
|
|
| 1. Create the
stem using a long stick or the margin of the counter to set it into a
straight shape. Once cooled, it can be attached to the body top using
tempered chocolate like glue (place between the body and the stem, as well
as around the stem as needed). |
 |
|
| 2. Create the
headstock. Add as many details as desired using chocolate to
attach cooled pieces together. |
 |
|
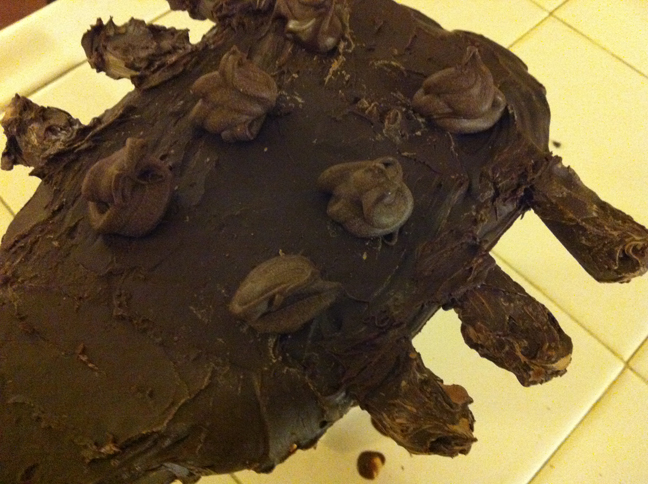
3. Create any other
details such as the bridge, designs on the guitar, and don't forget to sign your
name!
|
|
|
|
|
|
|
| Done! |
|
|
 |
|